


This project requires absolutely NO sewing skills...or really any skills of any sort!
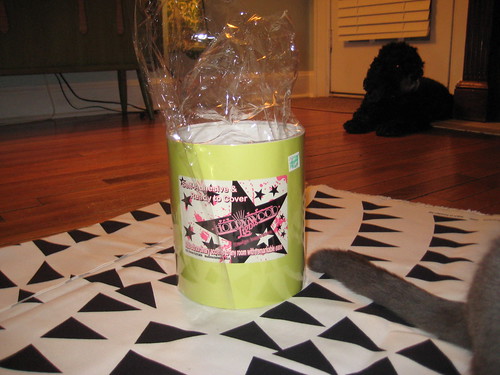
(Ignore all the pets in the photo)
First, you remove the wrapper from the lampshade to reveal the sticky shade. Use this wrapper as a template.It is a little hard to see the white wrapper on the black and white fabric in the photo below, but just know that it is there! haha

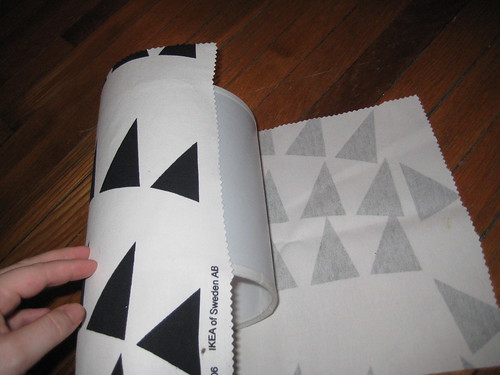
Next, cut your fabric with pinking shears to prevent fraying, leaving one inch on all edges.

Turn your fabric pattern side down, and lay your lampshade positioned in the middle of the height and to the furthest left edge of the width, and begin rolling it to the end of the fabric. You will have extra fabric on the top, bottom and at the end.
Smooth out any bubbles that you may have and make sure the fabric is adhered to the lampshade.At the end of length of your fabric, trim if needed, and tuck the cut end under so that you have a clean edge. If you would like, you can dab some glue along this seam to secure it tightly.
Next, I trimmed up my top and bottom edges, and then used craft glue to secure the fabric to the inside of the lampshade. I secured this in place while I waited for it to dry using plain old paperclips!

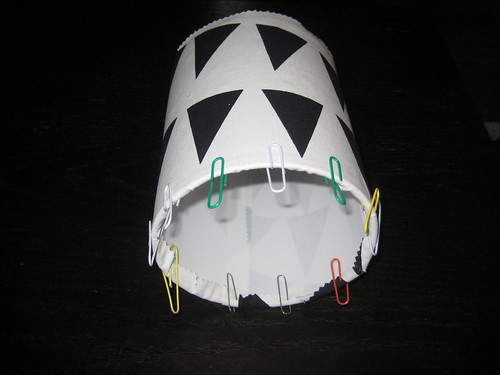
You don't have to wait for one side to dry before gluing the next side.

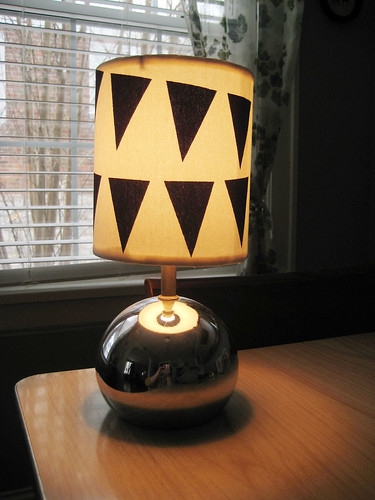
When the glue has dried, remove the paper clips and enjoy your new lampshade!
No comments:
Post a Comment