


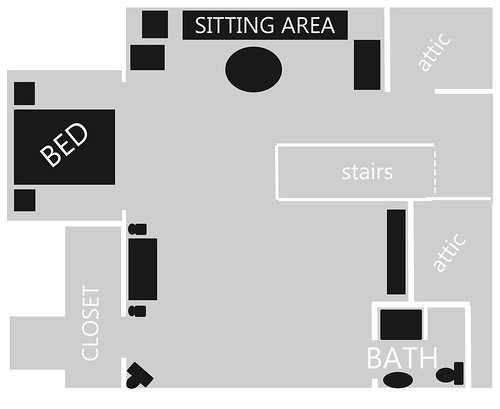
(I know my skills of pasting squares on top of squares to form the layout has you envious.)
Our bedroom is a large strange room with nooks and crannies and no trim around any of the openings (i.e. door frames), bad lighting and the tiniest of tiny bathrooms, and an ill planned closet. Sounds like I pretty much hate it, huh? I make it sound worse than it is, but it is strange, believe me! In comparison, the downstairs has ornate crystal door knobs and nice trim/moldings, it feels *special*, if feels 1940....the upstairs seems to have been renovated in the 1980's when triangular cutouts in your sheetrock were uber cool....well, not to this little lady.
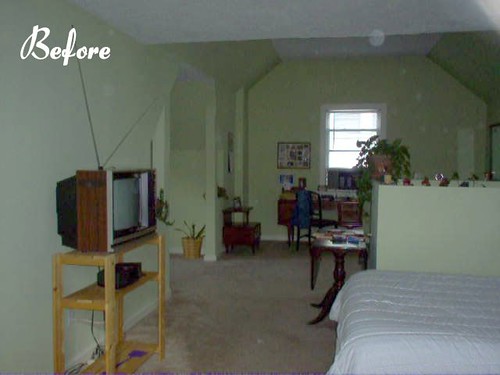
Sadly, the only photos I have really showing the size and lay of the land upstairs are the photos I took when we bought the house. The carpet and green paint leave much to be desired, but I will say the extra head room is nice! I'm not sure how tall the ceilings are in this section,


The shot above gives you a better idea of where I'm wanting to hang the wallpaper from this post at the top of the stairs, surrounding the window on the right, just as a focal wall. The closet like area in the photo next to the window is labeled as 'attic' in the layout above and there is another on the other side of the window as well. To the left in this photo is where we now have our TV and sitting area. You can see part of the half wall on your right as well, where it says "Before" on the photo.
Click the "Read More" icon for the rest.....
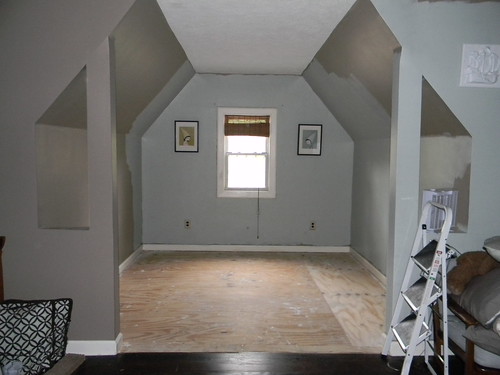
This next one gives you a little bit better view of the weird half wall in the middle of the room, as seen to the right of the photograph below. The previous owner had her bed in this nook and used the inset area to the left (unseen in this photo, but see below) as her sitting area...we've almost done the opposite.


See those 80's cutouts? I didn't lie!
Here are the most recent photos I have of our sleeping area as seen in the series of photos below. I took these to document the removal of carpet under the bed many months ago, yet because it wasn't painted and styled and ready I haven't shared it....today...I just don't care. I think purging all of my secrets of half painted walls and the like might spur me on to do something about it...let's hope so!
Side story: The week that I was trying to get our wedding invitations out, David decided we should rip up the carpet and refinish the hardwoods- the hardwoods (actually they aren't hard, they are pine) were everywhere except the closets and this nook above. We created a threshold and stained it to match the floors and left the carpet in those areas for about 3 more years...until recently when I just couldn't take the thought of nasty unable to be washed fibers underfoot, and I ripped it up! I didn't care that it was only plywood, anything was better than carpet. David stained the plywood to match, we placed the furniture back in and went about our way.
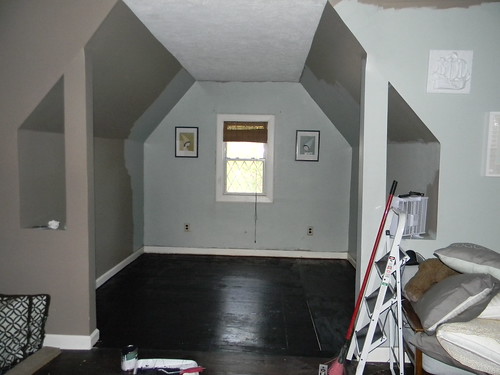

I love that I took the time to turn on the lights and put pillows in place, yet the walls aren't even fully painted and there are two bedspreads on the bed, haha! The map overhead is to cover up the window that prevents us from having a headboard.
Back to the rest of the horrible tour, and just to jog your memory, here is the layout again:
Do you see how large the room is, and how tiny the bathroom is???
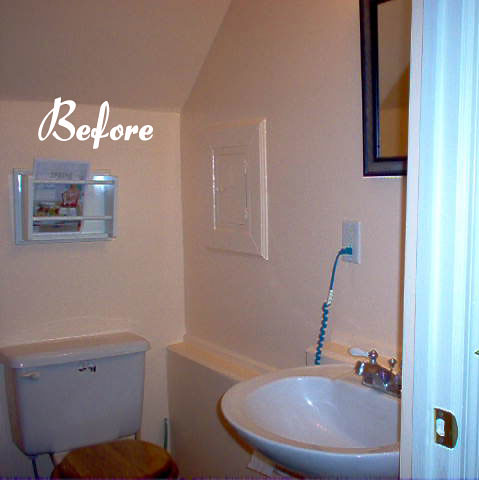
Don't worry, the bathroom looks slightly better than this Before photo now...but not much. I have major plans to fix this and create a master bath and closet/dressing area to match the master bedroom....add that to the list.

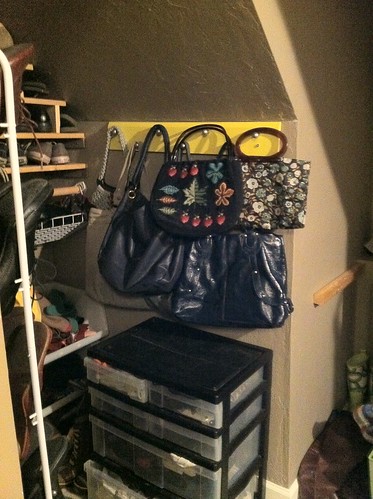
Also, the closets were not planned out well at all. When we moved in, there was no storage in the closet other than two closet rods. I should note, there are two sides, a short side if you look left and a long side to your right, with the dormer of the window straight ahead.
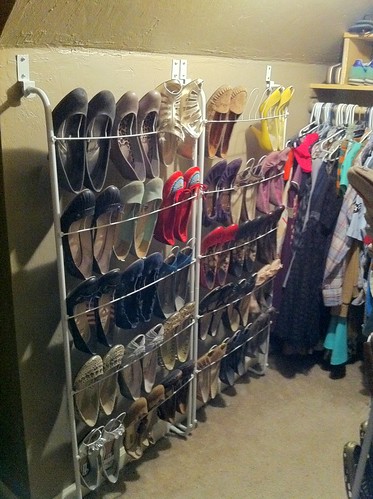
And a long narrow side to your right:
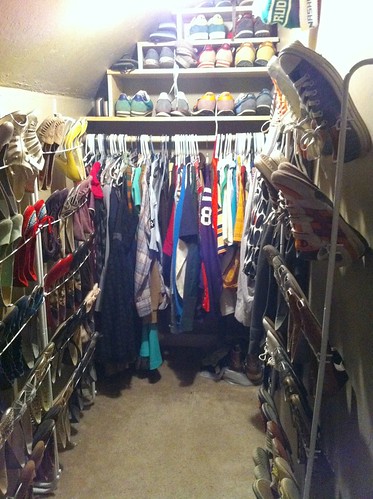
I've made the best of a bad situation by adding shelving above the closet rods and installing over-the-door shoe racks directly to the walls.
I'll show you later how easy it is to do, this post has gotten really long and I have work to do!! Hope you enjoyed the horrible upstairs tour!
2 comments:
Great space! We have the same master bath situation...room to expand, but it's a BIG, messy, expensive job.
I think expanding the master bathroom might be next on our list of renovations, and then once that one is done, we could move on to the downstairs bath which isn't much better.
Post a Comment