


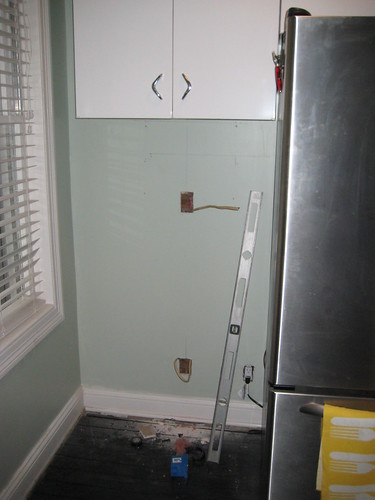
This outlet is going to be such a great addition for times when we have friends over....just to be able to plug in the blender to whip up an icy summer drink and not be right in the path of the back door will be awesome!
Next up on the working weekend was finally getting around to laminating the countertops, and guess what!? I took photos to share with you!! I actually couldn't believe how easy it was and couldn't figure out why everyone doesn't do this!

Thankfully, we had the forethought to have Lowe's cut the Medium Density Fiberboard (MDF) for us last month, so that helped our workload a ton. We purchased two large sheets of MDF and then drew out our dimensions so that we could get the maximum cuts out of each board. Armed with our dimensions and the handy Lowe's employee, we saved hundreds by doing it ourselves. For anyone instrested, here's how we did it! We layered two pieces of MDF for each "countertop" to give us a thickness of 1 5/8". David then used liquid nails (adhesive) to sandwich the two layers together, and finished it with screws. This is what we used as our temporary countertops for the past few weeks until we could get our laminate cut. We ordered the laminate sheet (just the top colorful part of your countertop) in a 10' length x 4' width, and then did the same with it as we did the MDF by drawing it out to figure where our cuts needed to be. We realized that a sheet this long was something more than just the two of us could handle (due to the fact that if we messed up cutting, we would be screwed), so we gave a local woodworker a call (who is an acquantaince) to see if we could pay him to help us cut it with his table saw, he obliged and wouldn't even take our money! We made him some strawberry jam as a thank you.

Next up, we purchased contact cement and a roller and got to work. I brushed the adhesive on both the boards and the laminate and following the instructions, I allowed it to cure for 15-20 minutes. At this point, I would yell for David to come and help me flip the board onto the laminate.

We centered it on the backside of the laminate and then flipped it to be pretty side up so that I could use the roller to get all air bubbles out and really adhear the two together.
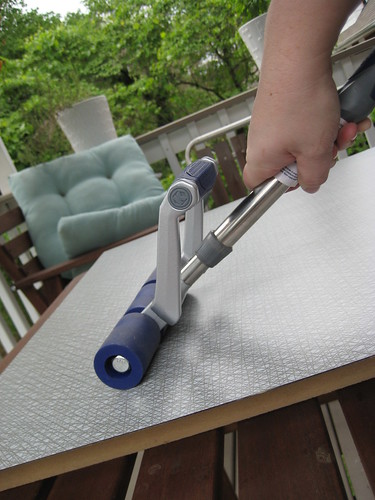
After it all had time to dry I used a jigsaw to trim the laminate to exactly the size of the boards. This edge will be covered by a stainless steel band eventually. It all went pretty fast, but maybe it was just the fumes that kept my spirits up?! I did find time to stop and make some pasta salad and sweet tea and enjoyed it on the drying countertops. David was indoors installing electrical outlets and loving (hating) life.
Kim, just for you....I thought you should know the pasta salad included fresh basil, garlic, pine nuts, feta and sundried tomatoes...all of my favorites!!
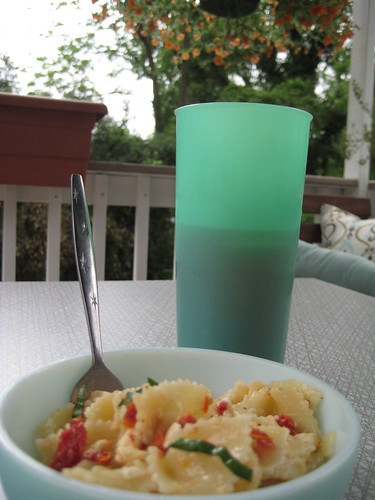
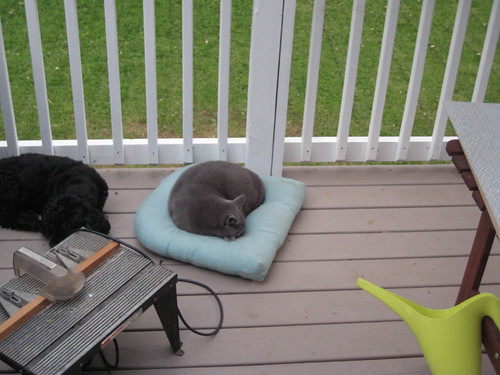
Apparently I wasn't the only one who needed a break from all the hard work...I spied these two sleeping on the deck amongst all the construction tools- the sound of me using the jigsaw and router didn't even bother them!
No comments:
Post a Comment